苹果mac电脑安装consul
consul 关键特性
- 服务发现: consul 提供服务, 服务端 主动向 consul 发起注册。
- 健康检查: 定时发送消息,类似于 “心跳包”,保证 客户端获得到的 一定是 健康的服务。
- 键值存储: consul 提供,但是我们使用 redis
- 多数据中心:可以轻松搭建集群。
consul 安装说明:
下载 consul: https://releases.hashicorp.com/consul/ 从中选择版本下载。得到 zip 压缩包。
wget https://releases.hashicorp.com/consul/1.12.0/consul_1.12.0_darwin_amd64.zip解压缩 :
unzip consul_1.12.0_darwin_amd64.zip将解压缩的文件 拷贝至 /usr/local/bin/ —— 可执行文件。
cp consul /usr/local/bin/终端使用 consul --version 验证 安装是否成功。
$ consul --version
Consul v1.12.0
Revision 09a8cdb4
Protocol 2 spoken by default, understands 2 to 3 (agent will automatically use protocol >2 when speaking to compatible agents)
consul 常用命令
consul agent
-bind=0.0.0.0 指定 consul所在机器的 IP地址。 默认值:0.0.0.0
-http-port=8500 consul 自带一个web访问的默认端口:8500
-client=127.0.0.1 表明哪些机器可以访问consul 。 默认本机。0.0.0.0 所有机器均可访问。
-config-dir=foo 所有主动注册服务的 描述信息
-data-dir=path 储存所有注册过来的srv机器的详细信息。
-dev 开发者模式,直接以默认配置启动 consul
-node=hostname 服务发现的名字。
-rejoin consul 启动的时候,加入到的 consul集群
-server 以服务方式开启consul, 允许其他的consul 连接到开启的 consul上 (形成集群)。如果不加 -server, 表示以 “客户端” 的方式开启。不能被连接。
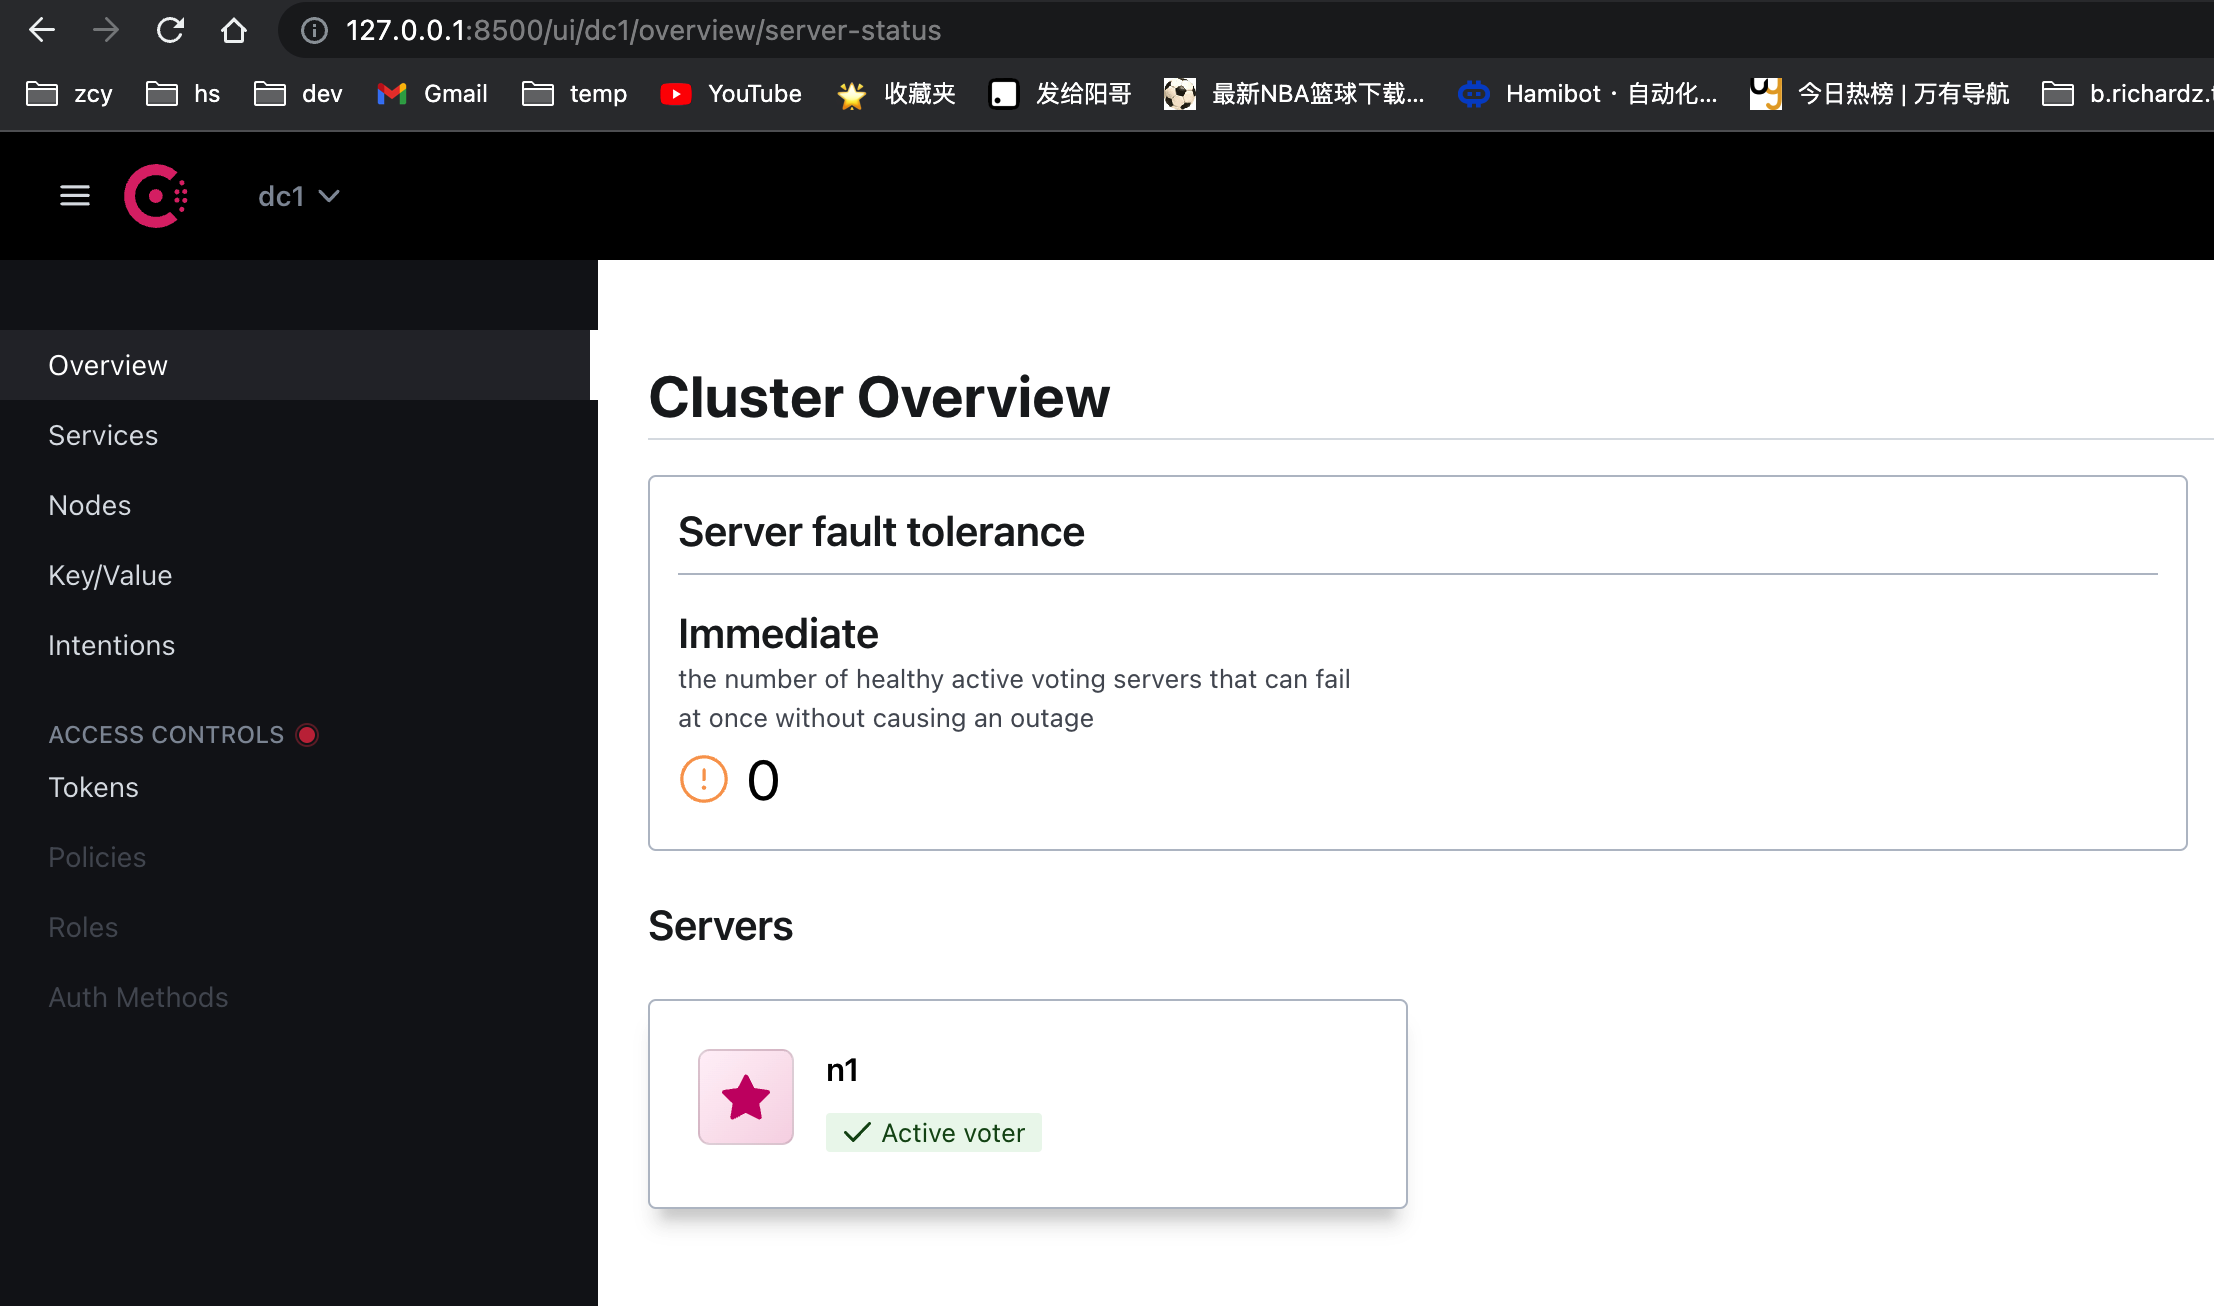
-ui 可以使用 web 页面 来查看服务发现的详情
测试上述 命令:
# 在终端中,键入:
consul agent -server -bootstrap-expect 1 -data-dir /tmp/consul -node=n1 -bind=192.168.6.108 -ui -rejoin -config-dir=/etc/consul.d/ -client 0.0.0.0

#看到提示:
==> Consul agent running!
启动 Google 浏览器, 测试:127.0.0.1:8500
consul members
查看集群中有多少个成员。

consul info
查看当前 consul 的 IP 信息。
consul leave
停止consul
标题:苹果mac电脑安装consul
作者:老白阳
文章地址:https://www.oldbaiyang.com/articles/2022/05/18/1652861750674.html
-------------------------------------------------------------------------------
老白阳的博客
老白阳的YouTub频道
老白阳的B站频道
老白阳的谷歌博客

Comments
Post a Comment